Welcome

Welcome! I'm so glad that you've stopped by to visit. This blog started with Paper Crafts but since that road leads to so many others it has since become a place for all types of crafting adventures from card making to DIY home projects. Scroll down on the right to find posts by labels and dates or try my search bar to find your inspiration.

Happy Crafting!


Thursday, May 31, 2012

Cards Galore!

So there have been a few events in my life in the past couple of months that all warranted a hand-made greeting card.  I thought you might like to see what I’ve been up too…

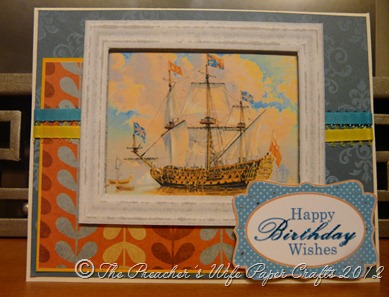
Birthday Ship
This was a birthday card for my brother-in-law.  I have a hard time with making male cards but I love how this turned out.  I printed out the ship and frame separately from Photoshop so I could have the 3D effect.  The tag I also designed in Photoshop but was inspired from Stamping Up.  You can see more of my “male” cards here.
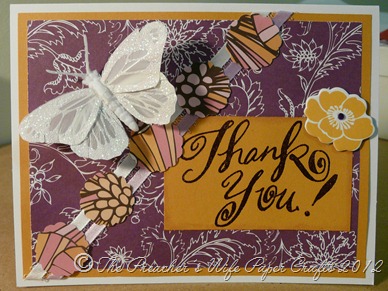
Butterfly Thank You
This was a super easy Thank You card for a family friend.  I love purple and orange together.  Check out some other Thank You Cards.
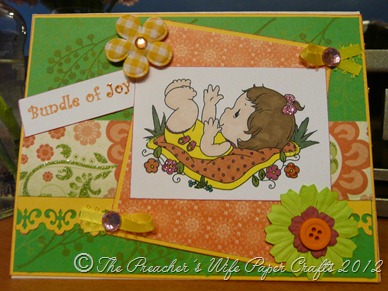
Bundle of Joy
I made this card for a baby shower.  I really enjoy hand coloring images, especially ones with kids or Precious Moments characters.  Download some free Precious Moments Boy images here.
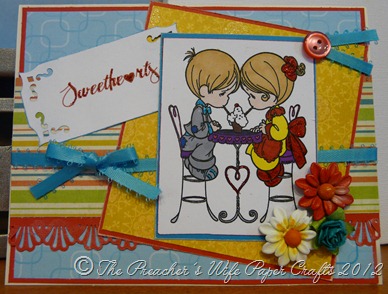
Sweethearts
Another Precious Moments card.  This one I had made for a special anniversary.  I love layering papers, it helps give a card more depth.
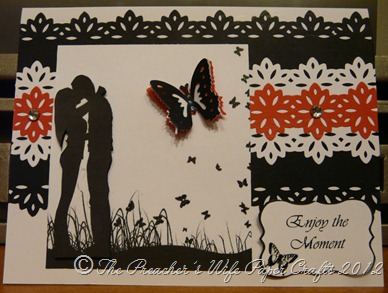
 Enjoy the Moment
This card is one of my new favorites.  I had a different version of this card that I had made last year for a friends wedding but my new 2-1 border punch from EK Success really makes this version pop!  The image is a royalty free stock photo that I found and the tag is made by me through Photoshop.  You can’t tell in the photo but both are raised up to be 3D.
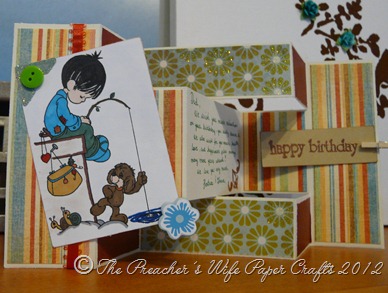
Gone Fishing
More Precious Moments…I think I have a slight obsession!  I made this card using a template from Wendy Bird Designs.  It was great fun to cut up the different papers and arrange them on the different sections of card. 
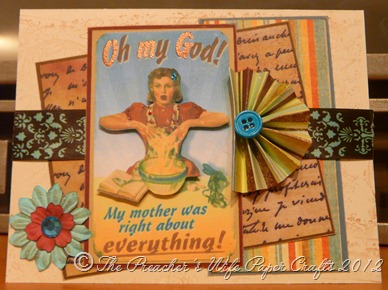
OMG Mothers Day
This was my card to my mother for Mother’s Day this year.  The card is stamped with Stampin’ Up’s “Very Vintage Jumbo Wheel Stamp”.  Love that stamp.  It provides such a great, aged look.  I cut the chick out and made her 3D with pop dot stickers;  embossed the “Oh My God” with my Versarmark Marker and Bronze embossing powder.  If you don’t own a Versamark Marker then get one—it has become my favorite embossing tool!  The half flower on the right side of the card is made like my Accordion Flowers post. 
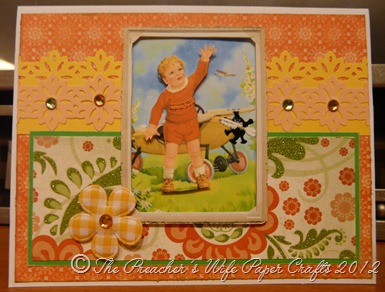
Little Guy Mother's Day
And my last card for this post.  This was the card from my little guy to his Mamaie (that’s Grandma in Romanian).  Isn’t he sooo talented at just 2 & 1/2?!  LOL.  The image of the little fellow I printed out in Photoshop along with the surrounding frame.  The pretty punch is a 2-1 border and chain punch from eksuccess.  Watch for my next post to see how I used that punch for party décor…

So glad you stopped by to see what I’ve been up too…
Hope we can visit again soon and if you have any questions about how I made any of my cards leave me a comment and I’ll be sure to get back to you.

Happy Cardmaking!
The Preacher's Wife
Create

Monday, May 21, 2012

A Birthday Party

Happy Birthday Banner
Ever since I was a little girl I dreamed of being a event planner.  I’ve always wanted to have big, glamorous dinner parties that would we be written about in flashy magazines.  Now that I’ve reached adult maturity (at least somewhat…), I realized that life’s dreams are not always attainable and that sometimes we need to scale them back a bit, but, our new dreams are still fabulous in their own way.  For example I’m not a ever-so-popular event planner but I am a crafter, blogger and learning DIY-er who still gets to share her creations with others.  And the big, glamorous dinner party turns into something I can make, even with a tiny budget, if I just use my creative skills and some imagination. 

Which is exactly what I did for my hubby’s party this year.  I used Photoshop, the dollar store and my own ideas to make his party this year.  Now would be when I show you my fabulous party with pictures that make you drool, except that being that I had some 25+ people over and I was trying to finish setting up before hubby came home (it was a surprise party) that I forgot to take pictures of everything finished…yes I did cry a little when I realized that…but I will share with you the photos I do have and some free printables at the end of this post…

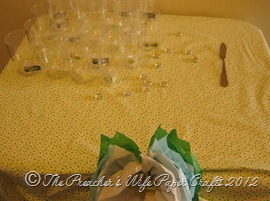
I have a lack of tables in my home.  I would love to have a buffet table that I could set up and decorate but until that day comes I grab what ever little tables I can find and hide and decorate them.  For this party I covered that tables with a white with green polk-a-dot fabric that I had from my own baby shower from 3 years ago.

Tables
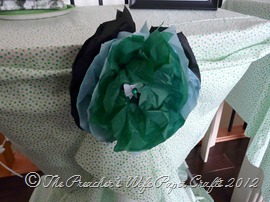
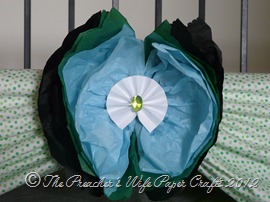
I cut the fabric up and gave it a swag which I held in place with pinned tissue paper flowers.  I made them like my Napkin Flowers which you can find here

Tissue FlowerTissue Flowers

Tissue Flower
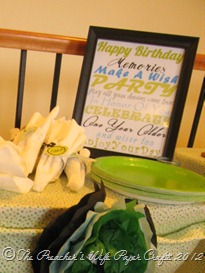
I made a birthday subway art and put it into a $3.00 frame that I found at Wal-Mart and set it on the table with my bright green plates and cutlery.
Bday Subway Art
Cutlery Table


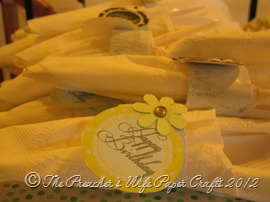
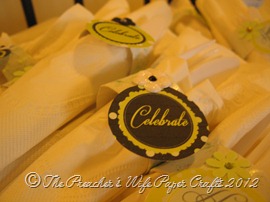
I wrapped my cutlery in a napkin and put the napkin in a napkin ring.  I made the napkin rings by wrapping paper towel holder cardboard tubes in white contact paper.  I then splotched them with green sparkly acrylic paint and glued on a tag that I made in Photoshop and finally added a little jeweled flower.

Happy Bday Napkin
Celebrate Napkin


 As some accents on the tables I had yellow flowers in stemless wine goblets, which also had a tissue paper flower attached to a toothpick all floating in green water.  For another accent I had little flowers inside a small glass jar.  It doesn't seem like much, but it added a bit of color and dimension to my tables.

FlowersGlass Jars w Flowers


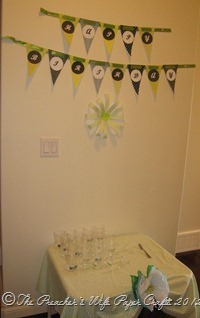
One my juice table I had put my mini champagne glasses which had more little labels that I had made in Photoshop.  As you can tell I really like to use Photoshop!  I didn’t get a finished picture with my punch bowl and the glasses filled up but hopefully you can imagine what it looked like from this picture…

Drinks TableTags
A combination of the tags on the right were on the stems of the glasses on the left.  Sorry it’s so hard to see.


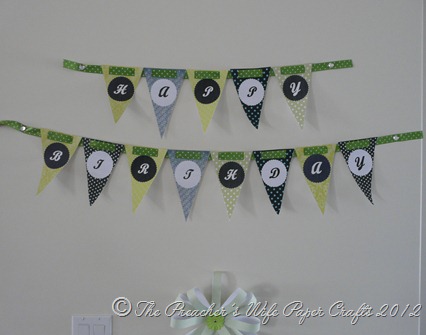
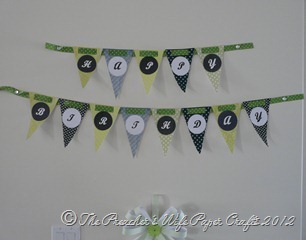
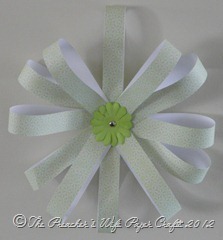
Above the juice table I had my Happy Birthday Banner which I had also done up in Photoshop.  I added a paper flower I made too.  It’s a 12”x12” sheet of cardstock cut into 1” wide strips with the ends folded into the center and pinned together with a brad.
Happy Bday BannerFlower
Punch Table
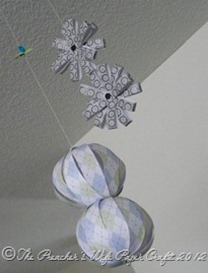
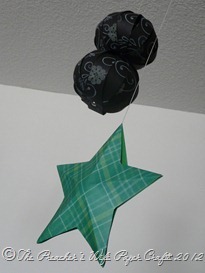
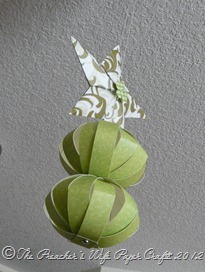
Above the other tables I had more decorations that I had made from cardstock.

Hanging Ornaments 1Hanging Ornaments 2

Hanging Ornaments 3

This was such a fun and easy party to create. It was a great basis for more parties. Check out my Facebook Page for some FREE Printables!  Look under my Exclusive Content tab!

Happy Partying!
signature4_thumbPost-Divider-100h5_thumb